> ## Documentation Index
> Fetch the complete documentation index at: https://daehan-base.mintlify.site/llms.txt
> Use this file to discover all available pages before exploring further.
# RainbowKit
> Base Account와 RainbowKit 통합하기
export const GithubRepoCard = ({title, githubUrl}) => {
return
;
};
## 개요
[RainbowKit](https://www.rainbowkit.com/)은 온체인 애플리케이션에 지갑 로그인 기능을 손쉽게 추가할 수 있는 React 라이브러리입니다. 즉시 사용 가능하도록 설계되었으며 Base Account를 기본 지원합니다.
RainbowKit과 Base Account를 통합하면 전체 Base Account 기능 세트에 대한 접근을 유지하면서 사용자에게 원활한 온보딩 경험을 제공할 수 있습니다.
### 달성할 내용
이 가이드를 마치면 다음을 할 수 있습니다:
* Base Account 지원으로 RainbowKit 설정
* `ConnectButton`과 `WalletButton` 컴포넌트 사용 방법 습득
* Base Account를 기본 지갑 옵션으로 우선시하도록 앱 설정
* Reown 프로젝트 ID 획득 및 설정 (RainbowKit 프로젝트에 필수)
아래 Base Account RainbowKit 템플릿으로 바로 시작할 수 있습니다:
## 설치
[새 Next.js 프로젝트 생성](https://nextjs.org/docs/app/getting-started/installation) 후 필요한 의존성을 설치합니다:
```bash npm theme={null}
npm install @rainbow-me/rainbowkit wagmi viem @tanstack/react-query
```
```bash pnpm theme={null}
pnpm add @rainbow-me/rainbowkit wagmi viem @tanstack/react-query
```
```bash yarn theme={null}
yarn add @rainbow-me/rainbowkit wagmi viem @tanstack/react-query
```
```bash bun theme={null}
bun add @rainbow-me/rainbowkit wagmi viem @tanstack/react-query
```
**최신 버전의 Base Account SDK 접근 (권장)**
최신 기능과 버그 수정을 받으려면 최신 버전의 Base Account SDK를 사용하는 것을 {강력히 권장}합니다.
다음 명령어로 오버라이드할 수 있습니다:
```bash npm theme={null}
npm pkg set overrides.@base-org/account="latest"
# 또는 package.json에 수동으로 추가:
# "overrides": { "@base-org/account": "latest" }
```
```bash pnpm theme={null}
# pnpm은 package.json에 수동으로 추가해야 합니다:
# "pnpm": { "overrides": { "@base-org/account": "latest" } }
```
```bash yarn theme={null}
# yarn은 resolutions를 사용합니다 - package.json에 수동으로 추가:
# "resolutions": { "@base-org/account": "latest" }
```
```bash bun theme={null}
# bun은 overrides를 지원합니다 - package.json에 수동으로 추가:
# "overrides": { "@base-org/account": "latest" }
```
특정 버전을 사용하려면 오버라이드에 버전을 추가하세요:
```bash npm theme={null}
npm pkg set overrides.@base-org/account="2.2.0"
# 또는 package.json에 수동으로 추가:
# "overrides": { "@base-org/account": "2.2.0" }
```
```bash pnpm theme={null}
# pnpm은 package.json에 수동으로 추가해야 합니다:
# "pnpm": { "overrides": { "@base-org/account": "2.2.0" } }
```
```bash yarn theme={null}
# yarn은 resolutions를 사용합니다 - package.json에 수동으로 추가:
# "resolutions": { "@base-org/account": "2.2.0" }
```
```bash bun theme={null}
# bun은 overrides를 지원합니다 - package.json에 수동으로 추가:
# "overrides": { "@base-org/account": "2.2.0" }
```
오버라이드가 적용되도록 `node_modules`와 `package-lock.json`을 삭제하고 새로 설치해야 합니다.
## Reown 프로젝트 ID 획득
Base Account와 함께 RainbowKit을 사용하려면 Reown Cloud에서 프로젝트 ID를 획득해야 합니다.
1. [Reown Cloud 대시보드](https://dashboard.reown.com/) 방문
2. 무료 계정에 가입하거나 이미 계정이 있으면 로그인
3. 새 프로젝트를 생성하고 프로젝트 ID를 복사합니다.
## 설정
### 1. Wagmi를 RainbowKit으로 설정
`src` 디렉토리에 블록체인 연결 및 지갑 옵션을 설정하는 `wagmi.ts` 파일을 생성합니다:
```tsx src/wagmi.ts theme={null}
import { getDefaultConfig } from '@rainbow-me/rainbowkit';
import {
base,
mainnet
} from 'wagmi/chains';
export const config = getDefaultConfig({
appName: 'My Base Account App',
projectId: 'YOUR_PROJECT_ID', // Reown 프로젝트 ID로 교체
chains: [
mainnet,
base
],
ssr: true, // 서버 사이드 렌더링 지원 활성화
});
```
**YOUR\_PROJECT\_ID 교체 필수**
`'YOUR_PROJECT_ID'`를 [Reown Cloud](https://dashboard.reown.com/)에서 획득한 실제 프로젝트 ID로 반드시 교체하세요.
프로덕션 애플리케이션의 경우 환경 변수를 사용하세요:
```typescript theme={null}
projectId: process.env.NEXT_PUBLIC_REOWN_PROJECT_ID!,
```
그리고 `.env.local`에 추가하세요:
```bash theme={null}
NEXT_PUBLIC_REOWN_PROJECT_ID=your_project_id_here
```
### 2. RainbowKit 프로바이더 설정
`_app.tsx`에서 필요한 프로바이더로 애플리케이션을 래핑합니다:
```tsx src/pages/_app.tsx theme={null}
import '../styles/global.css';
import '@rainbow-me/rainbowkit/styles.css';
import type { AppProps } from 'next/app';
import { QueryClient, QueryClientProvider } from '@tanstack/react-query';
import { WagmiProvider } from 'wagmi';
import { RainbowKitProvider } from '@rainbow-me/rainbowkit';
import { config } from '../wagmi';
const queryClient = new QueryClient();
function MyApp({ Component, pageProps }: AppProps) {
return (
);
}
export default MyApp;
```
## 사용법
RainbowKit은 지갑 연결을 위한 두 가지 주요 컴포넌트를 제공합니다: `ConnectButton`과 `WalletButton`. 두 컴포넌트 모두 Base Account를 기본 지원합니다.
### 옵션 1: ConnectButton 사용
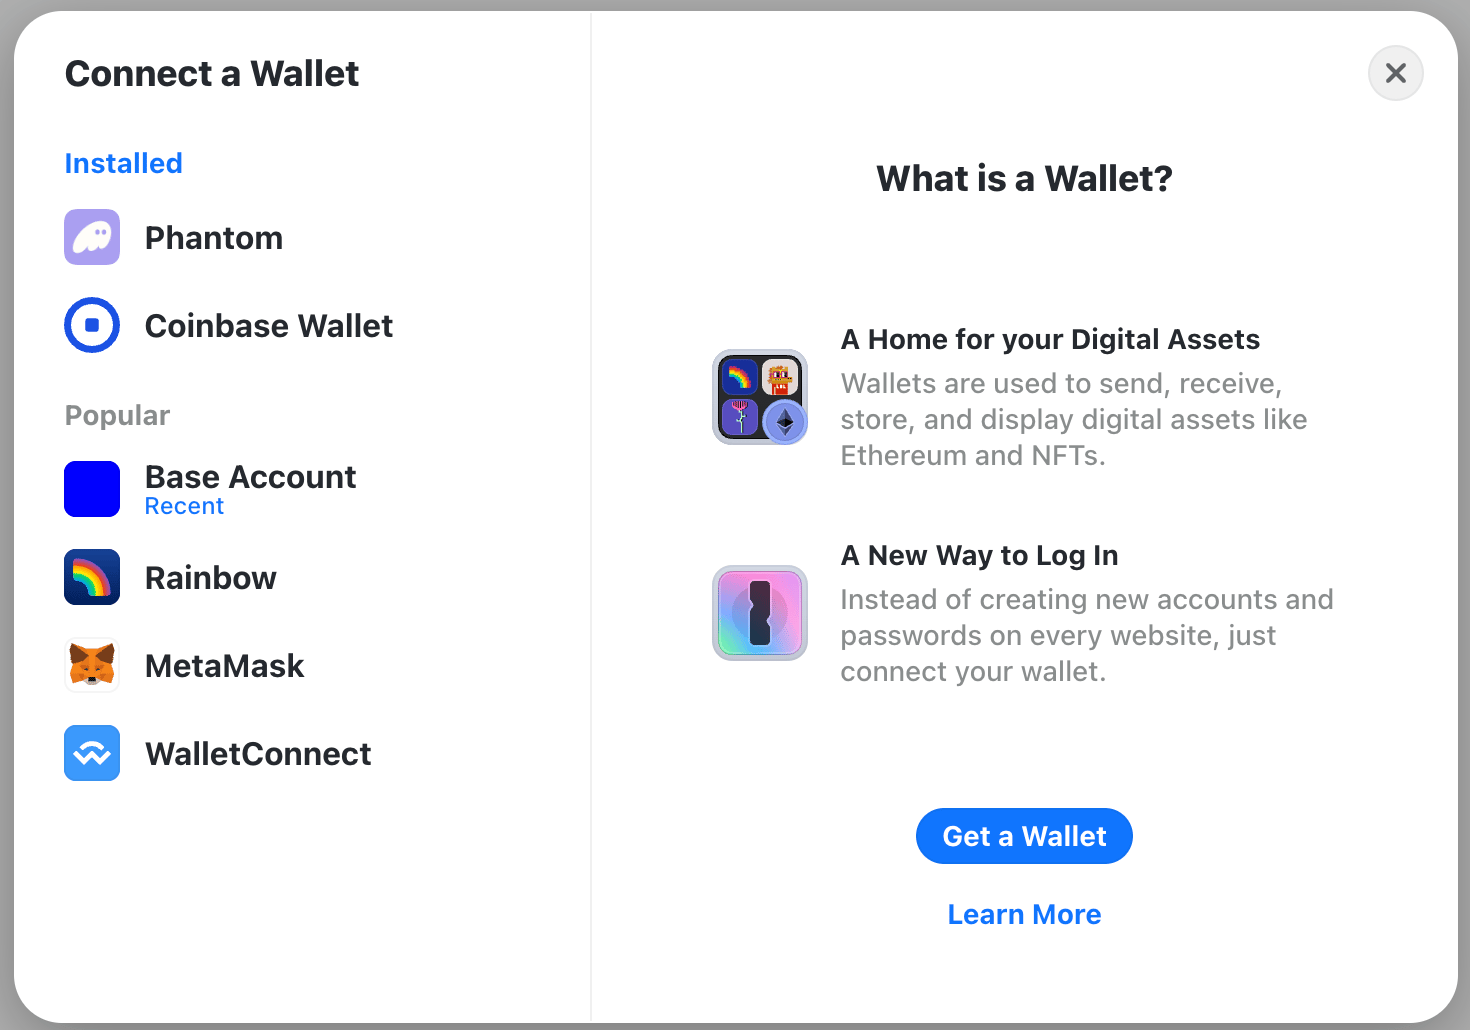
`ConnectButton`은 RainbowKit의 올인원 지갑 연결 컴포넌트입니다. Base Account를 포함한 모든 사용 가능한 지갑과 함께 지갑 연결 모달을 표시합니다.
```tsx src/pages/index.tsx theme={null}
import { ConnectButton } from '@rainbow-me/rainbowkit';
import type { NextPage } from 'next';
const Home: NextPage = () => {
return (
);
};
export default Home;
```
구현하면 다음과 같이 표시됩니다:
### 옵션 2: Base Account용 WalletButton 사용
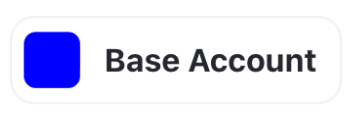
`WalletButton` 컴포넌트는 특정 지갑에 직접 연결합니다. Base Account를 기본 지갑 옵션으로 강조하고 싶을 때 이상적입니다.
```tsx src/pages/index.tsx theme={null}
import { WalletButton } from '@rainbow-me/rainbowkit';
import type { NextPage } from 'next';
const Home: NextPage = () => {
return (
);
};
export default Home;
```
구현하면 다음과 같이 표시됩니다:
## 고급 설정
### 지갑 목록에서 Base Account 우선 표시
지갑 연결 모달에서 Base Account가 먼저 표시되도록 지갑 순서를 커스터마이징할 수 있습니다:
```tsx src/wagmi.ts theme={null}
import { getDefaultConfig } from '@rainbow-me/rainbowkit';
import { base, mainnet, sepolia } from 'wagmi/chains';
export const config = getDefaultConfig({
appName: 'My Base Account App',
projectId: process.env.NEXT_PUBLIC_REOWN_PROJECT_ID!,
chains: [base, mainnet, sepolia],
ssr: true,
// 지갑 설정
wallets: [
{
groupName: '추천',
wallets: ['baseAccount'], // Base Account가 먼저 표시
},
],
});
```
### RainbowKit 테마 커스터마이징
RainbowKit은 광범위한 테마 옵션을 지원합니다:
```tsx src/pages/_app.tsx theme={null}
import { RainbowKitProvider, darkTheme } from '@rainbow-me/rainbowkit';
function MyApp({ Component, pageProps }: AppProps) {
return (
);
}
```
### 지갑 연결 상태 접근
앱 전체에서 지갑 연결 상태에 접근하려면 wagmi 훅을 사용합니다:
```tsx theme={null}
import { useAccount, useDisconnect, useEnsName } from 'wagmi';
function Profile() {
const { address, isConnected } = useAccount();
const { disconnect } = useDisconnect();
const { data: ensName } = useEnsName({ address });
if (!isConnected) return
연결되지 않음
;
return (
{ensName ?? address}에 연결됨
);
}
```
### 프로그래밍 방식으로 네트워크 전환
사용자가 다른 체인으로 전환할 수 있도록 허용합니다:
```tsx theme={null}
import { useSwitchChain } from 'wagmi';
import { base, mainnet } from 'wagmi/chains';
function NetworkSwitcher() {
const { switchChain } = useSwitchChain();
return (
);
}
```
## 모범 사례
Reown 프로젝트 ID와 같은 민감한 설정을 코드에 직접 넣지 말고 환경 변수에 저장하세요:
```bash .env.local theme={null}
NEXT_PUBLIC_REOWN_PROJECT_ID=your_project_id_here
```
하이드레이션 문제를 방지하기 위해 Next.js 애플리케이션의 wagmi 설정에 항상 `ssr: true`를 설정하세요:
```typescript theme={null}
export const config = getDefaultConfig({
// ...
ssr: true,
});
```
Base를 기본값으로 설정하려면 설정에서 첫 번째 체인으로 배치하세요:
```typescript theme={null}
chains: [base, mainnet, ...otherChains]
```
최신 Base Account 기능과 보안 패치를 받기 위해 RainbowKit, wagmi, viem을 정기적으로 업데이트하세요:
```bash theme={null}
npm update @rainbow-me/rainbowkit wagmi viem
```
## 다음 단계
Base Account로 RainbowKit을 설정했다면 이제 다음을 할 수 있습니다:
Base Account와 그 기능에 대해 자세히 알아보기
RainbowKit과 그 기능에 대해 자세히 알아보기
wagmi와 그 기능에 대해 자세히 알아보기
Base 커뮤니티에 참여하고 다른 개발자들의 도움 받기