Documentation Index Fetch the complete documentation index at: https://daehan-base.mintlify.app/llms.txt
Use this file to discover all available pages before exploring further.
원활한 사용자 인증과 지갑 관리를 위해 Base Account와 함께 Thirdweb을 설정하는 방법을 알아보세요.
Thirdweb 은 지갑 연결, 인증, 스마트 컨트랙트 상호작용이 포함된 완전한 온체인 애플리케이션 개발 프레임워크를 제공합니다.
Base Account와 Thirdweb을 통합하면 Thirdweb의 ConnectButton 컴포넌트를 활용하면서 사용자에게 네이티브 Base Account 지갑 지원을 제공할 수 있습니다.
달성할 내용
이 가이드를 마치면 다음을 할 수 있습니다:
Base Account 지원으로 Thirdweb 설정
이메일 인증과 함께 Base Account를 지갑 옵션으로 제공
Thirdweb의 ConnectButton을 사용한 세련된 지갑 연결 경험 구현
Base Account Thirdweb 템플릿 으로 바로 시작할 수 있습니다.
1. 새 Next.js 프로젝트 생성
npx create-next-app@latest base-account-thirdweb
cd base-account-thirdweb
2. 의존성 설치
Thirdweb SDK를 설치합니다 (Base Account 지원에는 버전 5.118.0 이상이 필요합니다):
npm install thirdweb@^5.118.0
1. 환경 변수 설정
프로젝트 루트에 .env.local 파일을 생성합니다:
NEXT_PUBLIC_THIRDWEB_CLIENT_ID = your-client-id
클라이언트 ID는 Thirdweb 대시보드 에서 가져옵니다.
2. Thirdweb 클라이언트 생성
클라이언트 설정 파일을 생성합니다:
import { createThirdwebClient } from "thirdweb" ;
export const client = createThirdwebClient ({
clientId: process . env . NEXT_PUBLIC_THIRDWEB_CLIENT_ID ! ,
});
3. ThirdwebProvider 설정
프로바이더 래퍼 컴포넌트를 생성하고 레이아웃을 업데이트합니다:
프로바이더 생성 (src/providers/providers.tsx)
레이아웃에 추가 (src/app/layout.tsx)
"use client" ;
import { ThirdwebProvider } from "thirdweb/react" ;
export default function Providers ({ children } : { children : React . ReactNode }) {
return < ThirdwebProvider > { children } </ ThirdwebProvider > ;
}
See all 7 lines
사용법
지갑 설정과 함께 Thirdweb의 ConnectButton을 사용합니다:
"use client" ;
import dynamic from "next/dynamic" ;
import { lightTheme } from "thirdweb/react" ;
import { inAppWallet , createWallet } from "thirdweb/wallets" ;
import { base } from "thirdweb/chains" ;
import { client } from "@/lib/client" ;
// SSR 하이드레이션 문제를 방지하기 위한 동적 임포트
const ConnectButton = dynamic (
() => import ( "thirdweb/react" ). then (( mod ) => mod . ConnectButton ),
{ ssr: false }
);
// 지갑 설정
const emailWallet = inAppWallet ({
auth: {
options: [ "email" ],
},
});
const baseAccountWallet = createWallet ( "org.base.account" );
const wallets = [ emailWallet , baseAccountWallet ];
const recommendedWallets = [ baseAccountWallet ];
// 커스텀 테마 (선택사항)
const customTheme = lightTheme ({
colors: {
primaryButtonBg: "#0052FF" ,
primaryButtonText: "#FFFFFF" ,
accentText: "#0052FF" ,
},
});
export default function Home () {
return (
< main className = "min-h-screen flex items-center justify-center" >
< ConnectButton
client = { client }
wallets = { wallets }
recommendedWallets = { recommendedWallets }
chain = { base }
showAllWallets = { false }
theme = { customTheme }
connectButton = { {
label: "로그인" ,
} }
connectModal = { {
title: "로그인" ,
size: "compact" ,
} }
/>
</ main >
);
}
See all 55 lines
3. 로컬에서 프로젝트 실행
완료되었습니다! 로컬에서 프로젝트를 실행합니다:
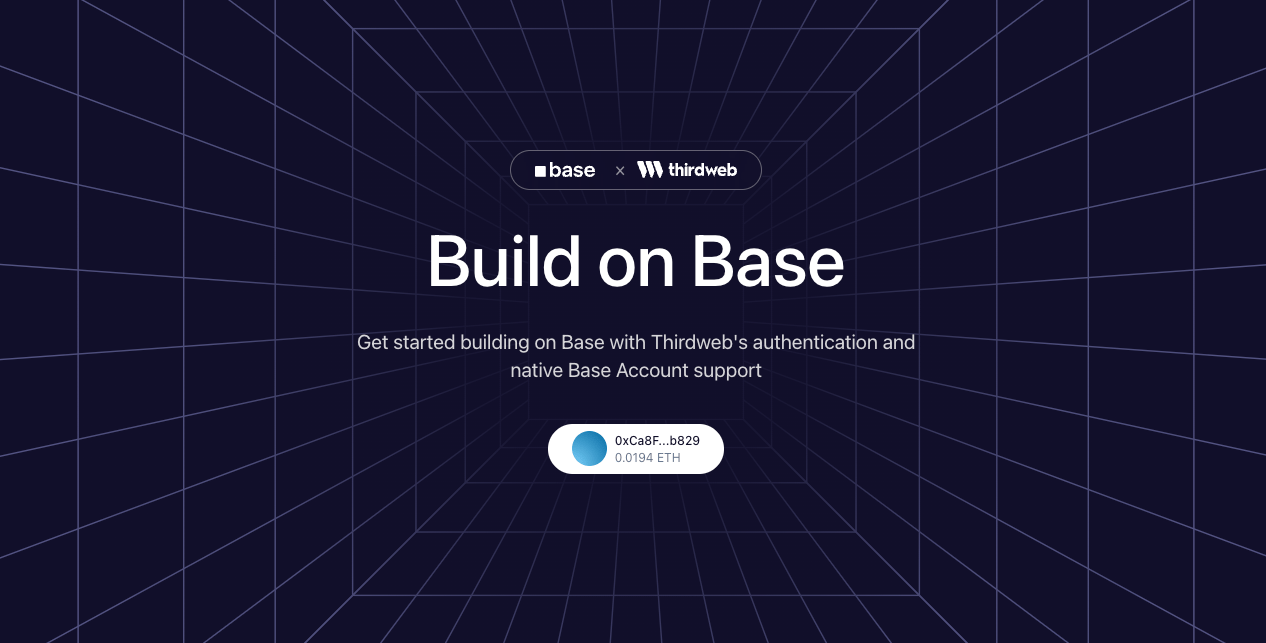
“로그인” 버튼이 있는 페이지가 표시됩니다. 클릭하면 Base Account와 이메일 인증 옵션이 있는 Thirdweb 연결 모달이 열립니다.
커스터마이징
지갑 옵션
연결 모달에 표시되는 지갑을 커스터마이징할 수 있습니다:
// 이메일만
const wallets = [ inAppWallet ({ auth: { options: [ "email" ] } })];
// Base Account만
const wallets = [ createWallet ( "org.base.account" )];
// 소셜 로그인을 포함한 다중 옵션
const wallets = [
inAppWallet ({
auth: {
options: [ "email" , "google" , "apple" , "discord" ],
},
}),
createWallet ( "org.base.account" ),
];
lightTheme 또는 darkTheme을 사용하여 외관을 커스터마이징합니다:
import { lightTheme , darkTheme } from "thirdweb/react" ;
// 커스텀 색상이 있는 라이트 테마
const theme = lightTheme ({
colors: {
primaryButtonBg: "#0052FF" ,
accentText: "#0052FF" ,
modalBg: "#FFFFFF" ,
},
});
// 또는 다크 테마 사용
const theme = darkTheme ();
thirdweb/chains에서 임포트하여 기본 체인을 변경합니다:
import { base , baseSepolia , mainnet } from "thirdweb/chains" ;
< ConnectButton
client = { client }
chain = { baseSepolia } // Base Sepolia 테스트넷 사용
// ...
/>
리소스